Change Blog Domain and Tagline

Step 1: Choose the “Settings” menu option and edit the URL and tagline fields.

For your URL, WordPress will have defaulted to “mydomain.com”. However, many sites use “www.mydomain.com” instead, and you should probably change it as well. Warning: changing this field to anything else is more complicated, and should definitely not be attempted before insuring the corresponding DNS entries are correct.

godaddy50-settings-basic

Step 2: If you changed the URL, you may need to log in again.

godaddy51-settings-basic

Step 3: Checkout the changes live on your site.

godaddy52-settings-basic

Create Your First Blog Post

Step 1: Choose the “Posts” menu option.

godaddy41-posts

Step 2: Choose “Add New” from the Posts page.

godaddy42-posts

Step 3: Add a Title and some other text for your post.

godaddy43-posts

Step 4: Choose “Add Media” to insert pictures or videos.

godaddy44b-posts

Step 5: You can select multiple files at once if needed.

godaddy44c-posts


godaddy45-posts

Step 7: Your pictures now appear in your post.

godaddy46-posts

Step 8: Organize your pictures if you added more than one.

godaddy47-posts

Step 9: Choose the “Publish” button and your post will go live on your site.

godaddy48-posts

Step 10: Choose “View Post” to see your new post.

godaddy49-posts

Upgrade Your Site with Jetpack Plugin

You get a free upgrade plugin called Jetpack for free with WordPress when you use GoDaddy. Let’s install it!

Step 1: Choose the Jetpack menu option and choose “Connect to WordPress.com.”

godaddy34-jetpack

Step 2: Choose “Need an account?” next to the Username field.

godaddy35-jetpack

Step 3: Enter Your Email Address and Pick a Username and Password

godaddy36-jetpack

Step 4: Store this Information in a Safe Place.

godaddy36b-jetpack

Step 5: Check Your Email for the Confirmation

godaddy37-jetpack

Step 6: Choose “Activate Account” from the Confirmation Email

godaddy38-jetpack

Step 7: Authorize Jetpack to Connect Your Accounts

godaddy39-jetpack

Step 8: All of the Jetpack Features should now be Available.

godaddy40-jetpack

Start Your Website with WordPress

Step 1: Visit GoDaddy’s Hosting Page

godaddy14

Step 2: Pick Your Package

If in doubt, start with the 3 month Economy package.

godaddy15

Step 3: Skip the Upgrades

godaddy16

Step 4: Begin Your Checkout

godaddy17

Step 5: Enter Your Payment Details

godaddy18

Step 6: Select Your (Already Registered) Domain

godaddy20

Step 7: Continue

godaddy21

Step 8: Choose to Install WordPress

godaddy22

Step 9: Choose a Username and Password

godaddy23

Step 10: Enter Your Existing Email Address

godaddy24

Step 11: Store This Information Somewhere Safe

godaddy24b

Step 12: Wait for Your Website to Install

godaddy25

Step 13: Get Notified Your Hosting is Ready

godaddy27

Step 14: Get Notified Your WordPress Site is Ready

godaddy27b

Step 15: Return to GoDaddy and Click “Finish”

godaddy28

Step 16: Click to Manage WordPress

godaddy29

Step 17: Click to Log In

godaddy30

Step 18: Enter the Username & Password from Step 9

godaddy31

Step 19: Login

godaddy32

Step 20: Your Site is Ready!

godaddy33

Register a Domain

You can register your domain on GoDaddy in just a few simple steps.

Step 1: Visit GoDaddy.com

godaddy1

Step 2: Enter Your Desired Domain Name

godaddy2

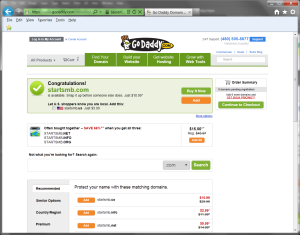
Step 3: Verify the Domain is Available

godaddy3

Step 4: Begin Checkout by Clicking “Buy it Now”

godaddy4

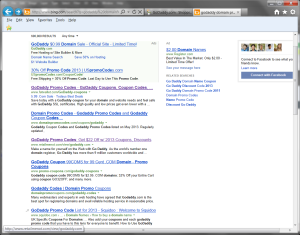
Step 5: Open a New Tab & Find a Promo Code

godaddy5

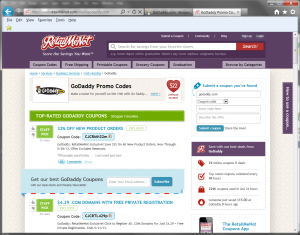
Step 6: Pick a Reliable Site like RetailMeNot.com

godaddy6

Step 7: Find a Relevant Code with Good Reviews

godaddy7

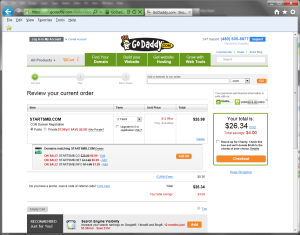
Step 8: Return to GoDaddy & Insure You Selected 1 Year

godaddy8

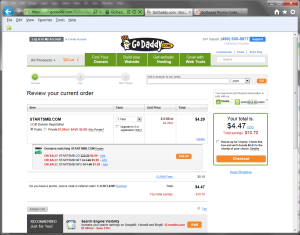
Step 9: Apply Your Promo Code

godaddy9

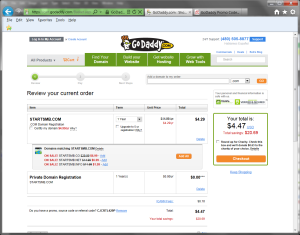
Step 10: Choose Private Domain (Optional)

godaddy10

Step 11: Click the “Checkout” Button & Login or Register

godaddy11-publish

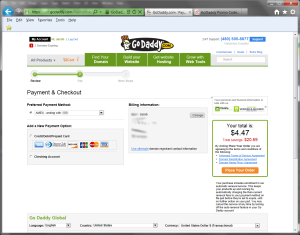
Step 12: Enter Your Payment Details

godaddy12-publish

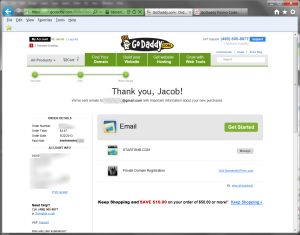
Step 13: You’re Done!

godaddy13-publish